Cook this recipe
and give it a try!

Notch
Free to sign up
Arrow

Welcome to Lilly’s Table!

Each recipe on our site is part of a meal, which, in turn, is part of a new set of seasonally-themed breakfasts, lunches, and dinners, released each week. As a member (free), you have access to each week’s 8+ meals and their corresponding recipes.


Learn more by hovering over each         or read more info on the Sign Up page.

Get more recipes like this one. Sign up today at www.Lillys-Table.com!

Lilly’s Table


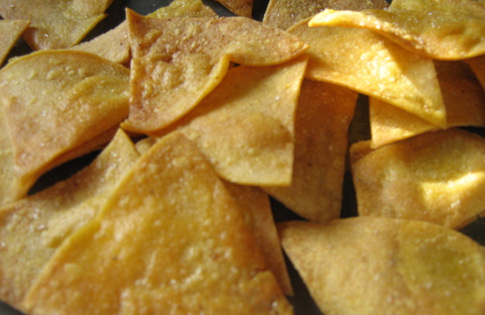
© Lillys-Table.com Photo of Homemade Tortilla Chips
  • Hard
  • Medium
  • Easy

Prep
Difficulty
Easy

20 mins

Time
Estimate
20 mins

Icon Heart Healthy

Gluten
Free?
Yes

Winter

Typical
Season
Winter


Nutrition Info

  • 7
  • 6
  • 5
  • 4
  • 3
  • 2
  • 1

Protein

  • 7
  • 6
  • 5
  • 4
  • 3
  • 2
  • 1

Carbs

  • 7
  • 6
  • 5
  • 4
  • 3
  • 2
  • 1

Fats

  • 7
  • 6
  • 5
  • 4
  • 3
  • 2
  • 1

Vegetables


Recipe Detail

Winter

Homemade Tortilla Chips

from Spring Mexican Fiesta Salad, the Week of June 10, 2012.
View the previous recipe for this meal.

Making chips from scratch may sound tedious, but the health & flavor benefits are great. This is a simple recipe, but do them up a bit further with various seasonings of your choice: cumin, smoky paprika, even a pinch of sugar or cinnamon.

Ingredients

  • 16 tortillas, corn
  • 2 tablespoons oil, vegetable oil or coconut oil, warmed to a liquid
  • 1 teaspoon salt, more or less as needed
  • 1 teaspoon smoked paprika, optional, or other spices, (see intro)

Serving Size: 4 People


Preparation Instructions

Preheat the oven to 350.

Drizzle the oil in a shallow dish. Dip one side of one tortilla into the oil, press it into the next tortilla. Until you have a stack of about 4-6 oiled up tortillas. Cut the stack into 6 wedges and spread these triangles out on a baking sheet.

Combine the salt and spices in your hand. From at least 2 feet above the baking sheet gently sprinkle on the salt to thinly coat each wedge with a puff of spiced salt.

Place the trays* in the oven.

Bake at 350 for about 5-9 minutes.* Check them. Once they are just starting to crisp, flip them over and continue baking and checking every 2-4 minutes- this is important as they can go from white to burnt in about 2 minutes. Trust me. I have thrown away many a delicious chip as I tested the theory that they will be fine without my attention.

Please note: The time can vary according to the thickness of your trays. I have tried several different trays over the many times I have made these. Thicker trays mean the chips bake slower than on thinner trays. This is probably obvious, but it does make my recommendations for the actual baking times a bit of a challenge. Just baby-sit these guys and enjoy!